
AWS IoT facilitates connecting your internet-of-things things to all the other Amazon web services. This makes it easy to build a scalable backend for your IoT project.

The standard way to authenticate with AWS IoT is via X.509 certificates using a TLS connection. Every device or ‘AWS IoT Thing’ has a unique certificate. Which is very safe because you can revoke any individual certificate to block the device from accessing the AWS IoT endpoint.
However, for ultra low power devices or things that are not directly connected to the internet, using TLS and these huge certificates and crypto libraries is often not feasible. AWS IoT seems to be built with always-on, voice-enabled, Alexa-like devices in mind. But what if you’re not running Linux on your device? What if you cannot add a Raspberry Pi to your sensor Thing? What if you don’t have hundreds of kbytes of flash and RAM to spare?
We’re in luck because AWS is slowly starting to accommodate these use cases. AWS IoT Core offers Custom Authentication that enables you to create a custom authorizer using an AWS Lambda function. The idea is to use the lambda function to check the validity of some token sent by the device. But it is up to you to create and distribute the tokens and to make sure they are safe and valid.
Custom Authorizers come in two flavors. Either with signed tokens or with unsigned tokens.
Using the authorizer with signed tokens means sending the plain text token along with a base64 representation of the token signed with a 2048-bit private key. AWS will already check that the token is indeed signed with the correct key. This prevents excessive triggering of the lambda function by unrecognized or rogue clients. Which is nice, because you have to pay for each invocation of the lambda function.
On the other hand, when your device or sensor is only sending a few bytes per day, sending a 2048 bit signature is still quite overkill and can drain the battery unnecessarily. That’s when you can use the unsigned authorizer. This is a very new feature that just came out of beta at the end of August (2020). During the beta, it was known as Enhanced Custom Authentication, quite ironically because you could say it is less enhanced without the signed token.
The next section will walk you through setting up and testing custom authentication for both signed and unsigned authorizers.
Step 1: creating the authorizer
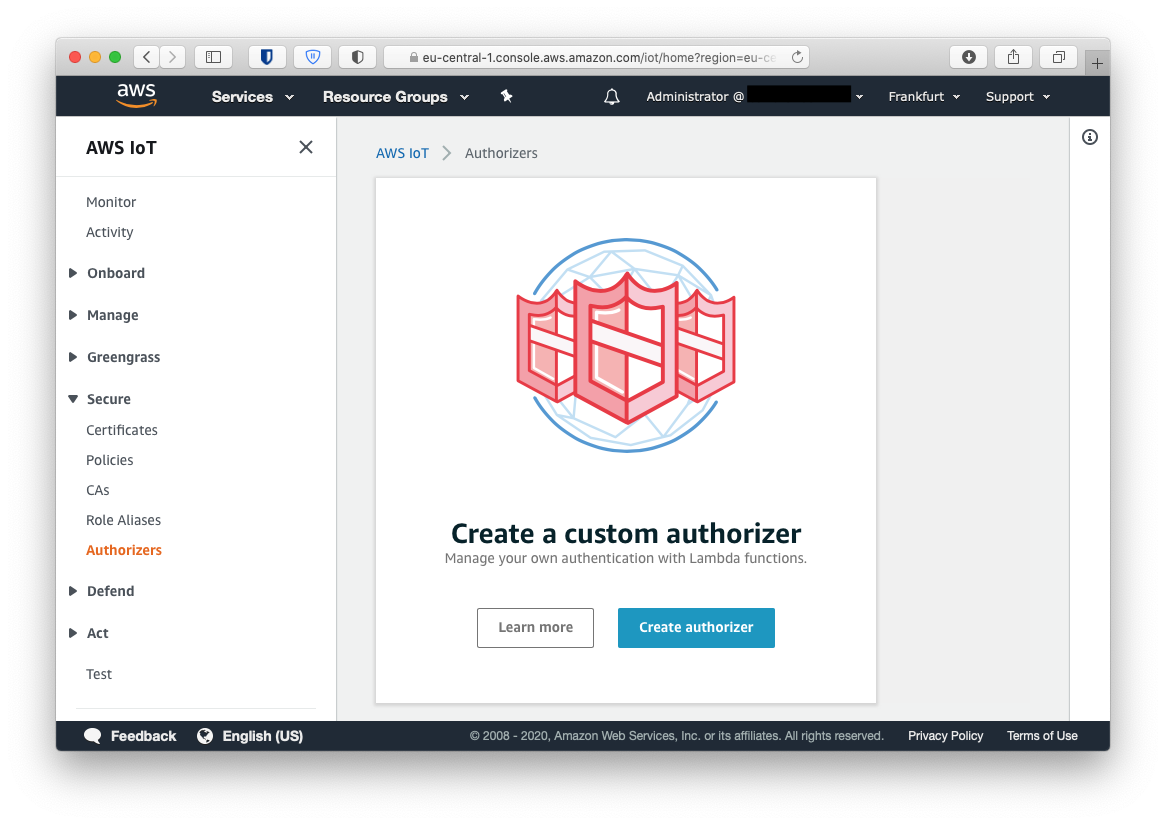
Log in to AWS IoT Core and make sure you’re in your intended region. Go to Secure > Authorizers and click Create authorizer.
We will name the authorizer unsignedAuthorizer. Next we will need to select a lambda function that will be called by this authorizer. Since we don’t have one yet, click Create a new Lambda function. It will open AWS Lambda in a new browser tab.
Step 2: creating the lambda function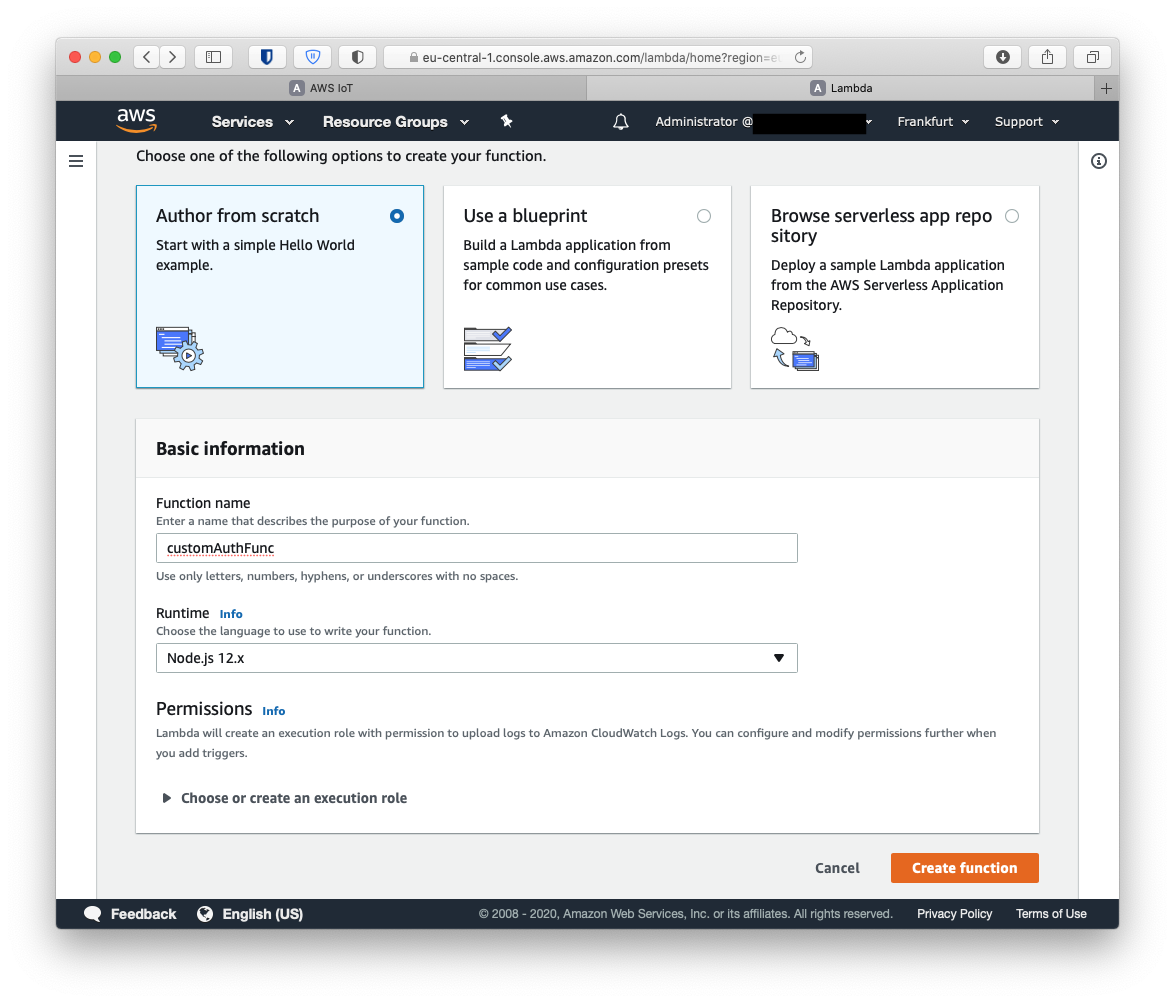
Here we will create a Lambda from scratch. Let’s name it very creatively customAuthFunc. We will use Node.js for this one, but you could make it in any runtime of course. Click Create function.
Then replace the hello world example code with the following authorizer example:
|
This code will try to obtain the Token either from the event (as parsed by the signed authorizer) or from the http headers. Also some ID is assumed to be included in the headers. Then if the token is 'Allow' it will generate a policy document that authorizes this connection for the mqtt topics described in this document. This is a very flexible way of authentication, because you can do basically anything in the lambda function. Of course it is also your responsibility to make it secure. For example by checking if ID + token pair exists in some database. Like a username and password.
Step 3: link the lambda and the authorizer
Go back to the AWS IoT tab where we were about to select the lambda. Click refresh to make our new lambda appear and select it. Finally we deselect Enable token signing and select the Activate authorizer checkbox. Create authorizer.
Step 4: testing
We can test our unsigned authorizer using the AWS CLI. Of course, first make sure the correct credentials and config (region) are in place in ~/.aws.
The CLI comes with the test-invoke-authorizer utility. We only need to supply the name of our authorizer (unsignedAuthorizer) and the required values in the http headers.
|
If everything goes well, the output looks like this.
|
Try to change the token value to "deny" and check the differences in the policy document.
We can even try to publish some data using curl. Using the AWS CLI we can figure out the correct endpoint url with aws iot describe-endpoint. Use the endpoint address as host for the following curl command.
|
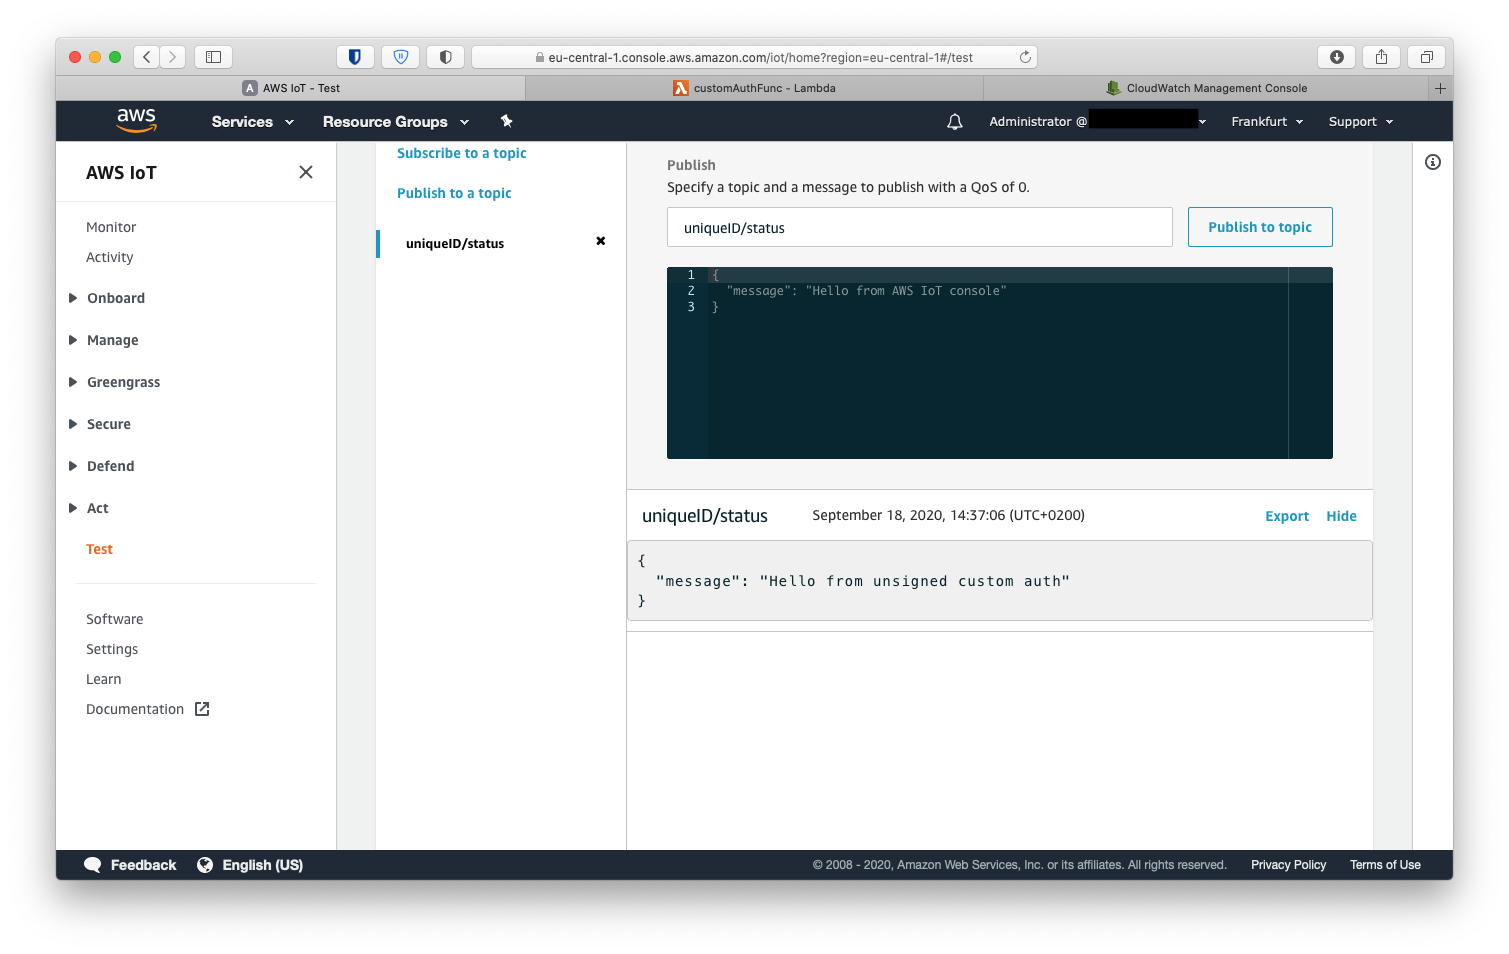
The mqtt message can be received and viewed in AWS IoT Core. Go to the AWS IoT tab and click Test. Subscribe to topic uniqueID/status and run the curl command above. The message should appear in the online mqtt console.
Troubleshooting
Now if things didn’t go as smooth as expected there can be three reasons:
How to debug this? The first thing is to check the logs of the lambda function. Logs are recorded in AWS CloudWatch. Open CloudWatch either directly, or click on monitoring on the lambda page.
In CloudWatch go to Log groups and click on the log group for the lambda function /aws/lambda/customAuthFunc Then open the most recent log stream.
If there is no log stream, it means that the lambda function was never called. So the problem lies with the Authorizer. If there is a logstream, open it and check the timestamps. Can you add new log entries by running the test command? The output in these logs is coming directly from the console.log calls in the lambda function. Have fun with printf debugging.
The setup for the signed authorizer is very similar. So we will go through it a bit faster.
Step 1: public-private key pair
First, we need to generate a public-private key pair so we can give the public key to the authorizer.
|
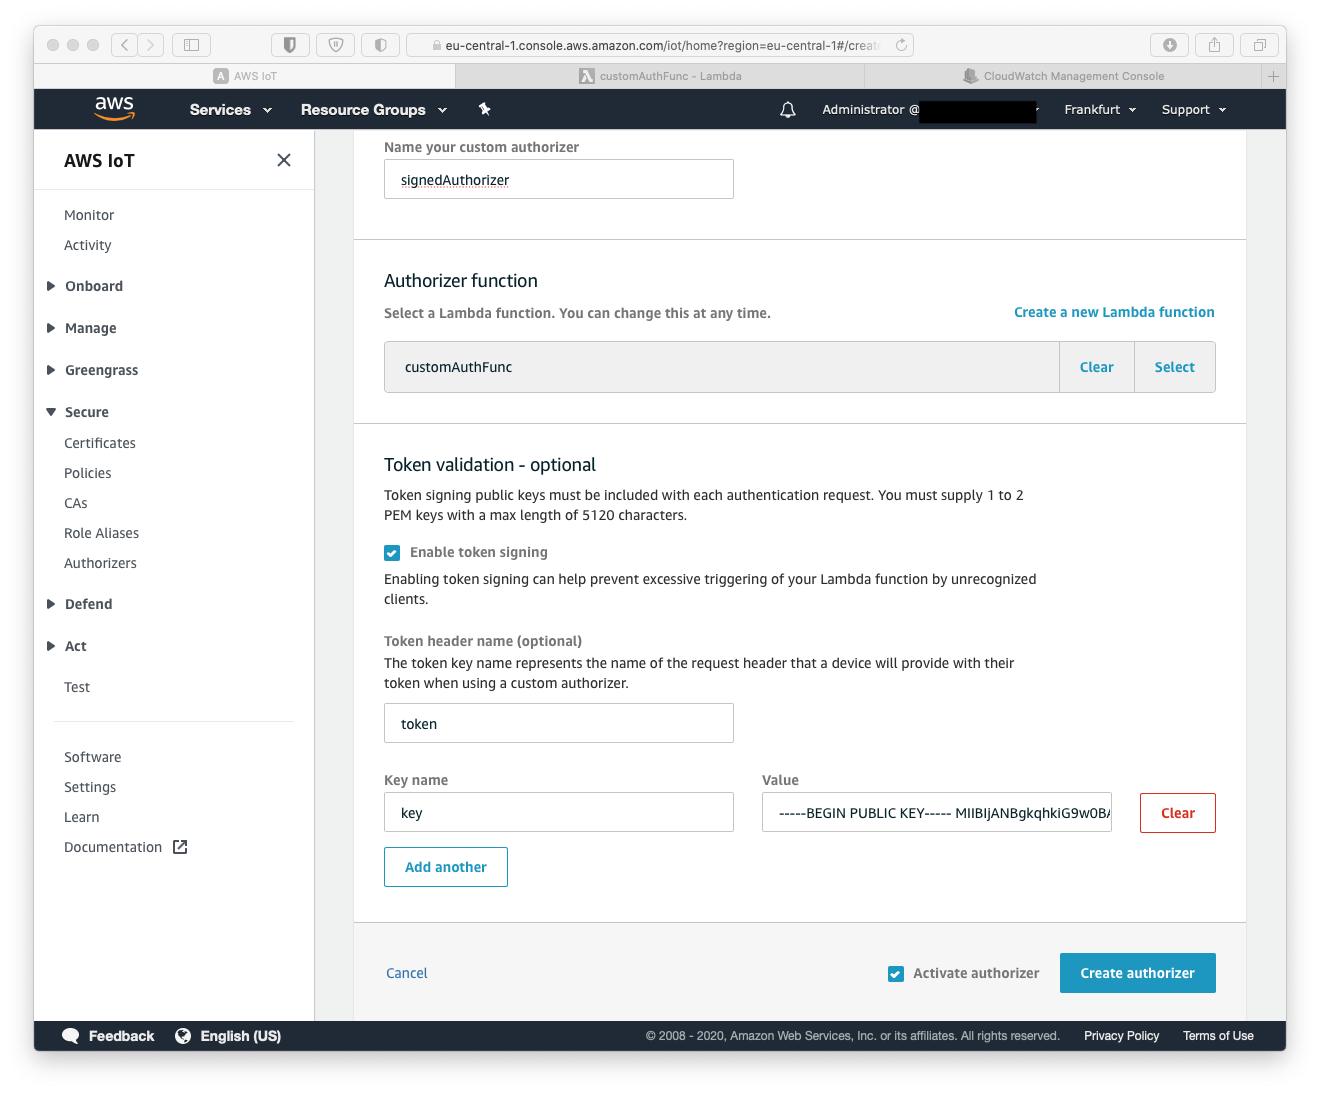
Step 2: create authorizer with signing enabled
Create a new Authorizer is AWS IoT Core. Name it signedAuthorizer. Use token as the token header name and paste the contents of the public key gateway_token.key.pub in the Value input. Then activate and save.
pbcopy < gateway_token.key.pub
Step 3
Generate the token and the token signature.
|
Step 4: Testing
To test if we can pass the authorizer and invoke the lambda function we use the test-invoke-authorizer again.
|
This should give us the following output
|
Since we didn’t provide the id field in the header we get 'unknown' in the policy document. Of course, this case should be handled better by the lambda function and don’t give any permissions if the ID is not valid or existing. But that’s for another post.
Let’s see if we can make it work with curl
|

Now we can successfully access the AWS IoT endpoint without using expensive X.509 certificates using both signed and unsigned custom authentication methods.
Let me know If you like me to write more about AWS IoT, or if you like our help creating and deploying your own IoT sensor fleet please contact us at help@jitter.company
